
Installing a Fresh OS onto the Beaglebone Black from a Mac
Project Type: Beaglebone Black
Software: Pi Filler
OS: OSX 10.10
Kits/Part Source: BeagleBone Black, 4GB Micro SD Card, Micro SD Card Adapter, Card Reader
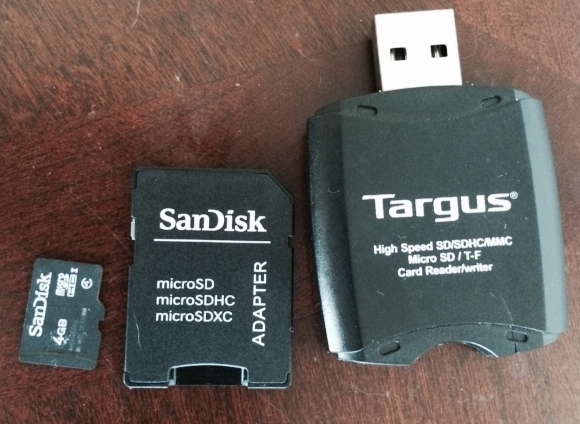
4GB Micro SD Card, Micro SD Card adapter, USB Card Reader
Project Source: http://derekmolloy.ie/write-a-new-image-to-the-beaglebone-black/
Okay so putting a fresh OS on the Beaglebone Black from a Mac wasn’t so easy. Really, all I had to do was find the right instructions.
The biggest problem was flashing the eMMC.
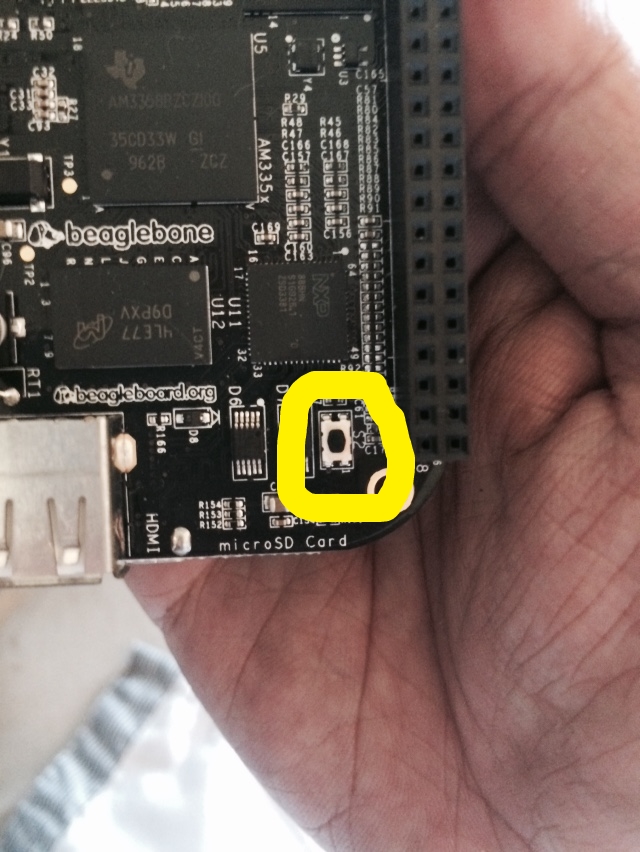
My first try was with the instructions I found in the book Getting Started with BeagleBone by Matt Richardson. Once the micro SD card imaged you are supposed to insert it into the Beaglebone Black and while holding the boot button, connect the power adapter. All the LEDs are supposed light up at once then light in sequence like a cylon until the eMMC in imaged with a bootable OS. The cylon thing wasn’t happening thus no fresh OS was imaged on the Beaglebone Black. I could however boot from the SD card but that’s not what I was trying to do.
Spending some time on google led me to Derek Molloy’s website
His site had a link to a flasher image here https://rcn-ee.com/rootfs/bb.org/release/2015-03-01/lxde-4gb/BBB-eMMC-flasher-debian-7.8-lxde-4gb-armhf-2015-03-01-4gb.img.xz
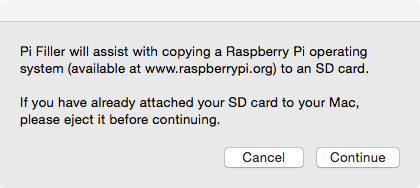
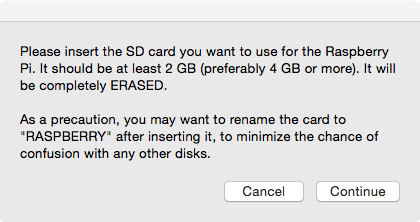
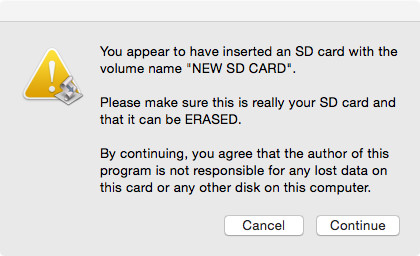
He also had instruction on how to use Pi Filler, which is an AppleScript for imaging SD cards for the Raspberry Pi. It works just fine for the Beaglebone Black flasher image. It's easier than doing it in terminal and it gives updates on its progress.
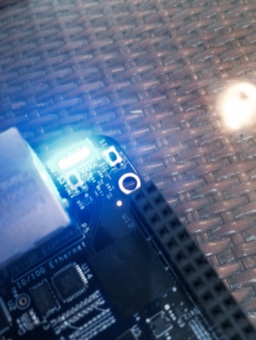
I tried the card again and voilà! Led’s were lighting back and forth like a cylon. It took 45 minutes to flash the eMMC.
I did run into further problems. The Mac mounted the Beaglebone like a drive when connected to the USB port just like it was supposed to but I couldn’t ssh into it.
The cylon thing wasn’t happening thus no fresh OS was imaged on the Beaglebone Black. I could however boot from the SD card but that’s not what I was trying to do.
Spending some time on google led me to Derek Molloy’s website
His site had a link to a flasher image here https://rcn-ee.com/rootfs/bb.org/release/2015-03-01/lxde-4gb/BBB-eMMC-flasher-debian-7.8-lxde-4gb-armhf-2015-03-01-4gb.img.xz
He also had instruction on how to use Pi Filler, which is an AppleScript for imaging SD cards for the Raspberry Pi. It works just fine for the Beaglebone Black flasher image. It's easier than doing it in terminal and it gives updates on its progress.
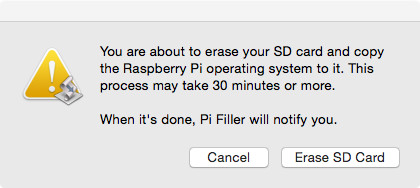
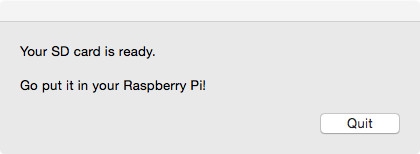
I tried the card again and voilà! Led’s were lighting back and forth like a cylon. It took 45 minutes to flash the eMMC.
I did run into further problems. The Mac mounted the Beaglebone like a drive when connected to the USB port just like it was supposed to but I couldn’t ssh into it.
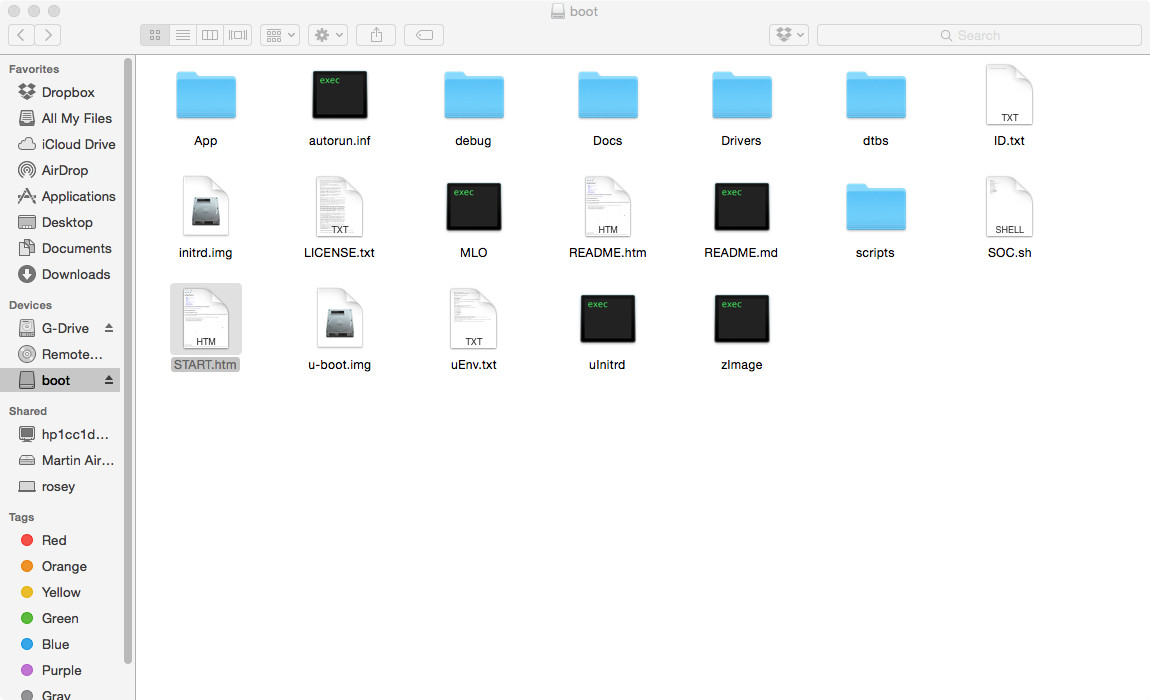
The Beaglebone mounted as an external drive
I downloaded and installed the newest USB drivers from http://beagleboard.org/getting-started.
That solved the ssh problem via the USB port but then I couldn’t ssh into the Beaglebone via the ethernet. Running the ssh-keygen command in terminal seemed to resolve that issue.

ssh-keygen
So here are the tips.
1. Use the Flasher image
2. Use Pi Filler
3. Install the latest USB drivers from the Beaglebone website.
4. Run the ssh-keygen for an ethernet connection.
I recommend checking out Derek Molloy’s website for more in-depth instructions.