
The Raspberry Pi Touch Display with the SmartPi Case and Stand
The Raspberry Pi Touch Display is a 7″ Touchscreen Monitor for Raspberry Pi created by the The Raspberry Pi Foundation.
The SmartPi Touch is a third party Case and Stand from a successful Kick Starter.
The SmartPi holds both the display and the Raspberry Pi.
The case keeps the GPIO pins accessible through an open slot on the back.
The Ethernet and USB Ports a still accessible on the left side of the Display
There is even an open slot for a Camera Module.
Here are some extra details on the Assembly
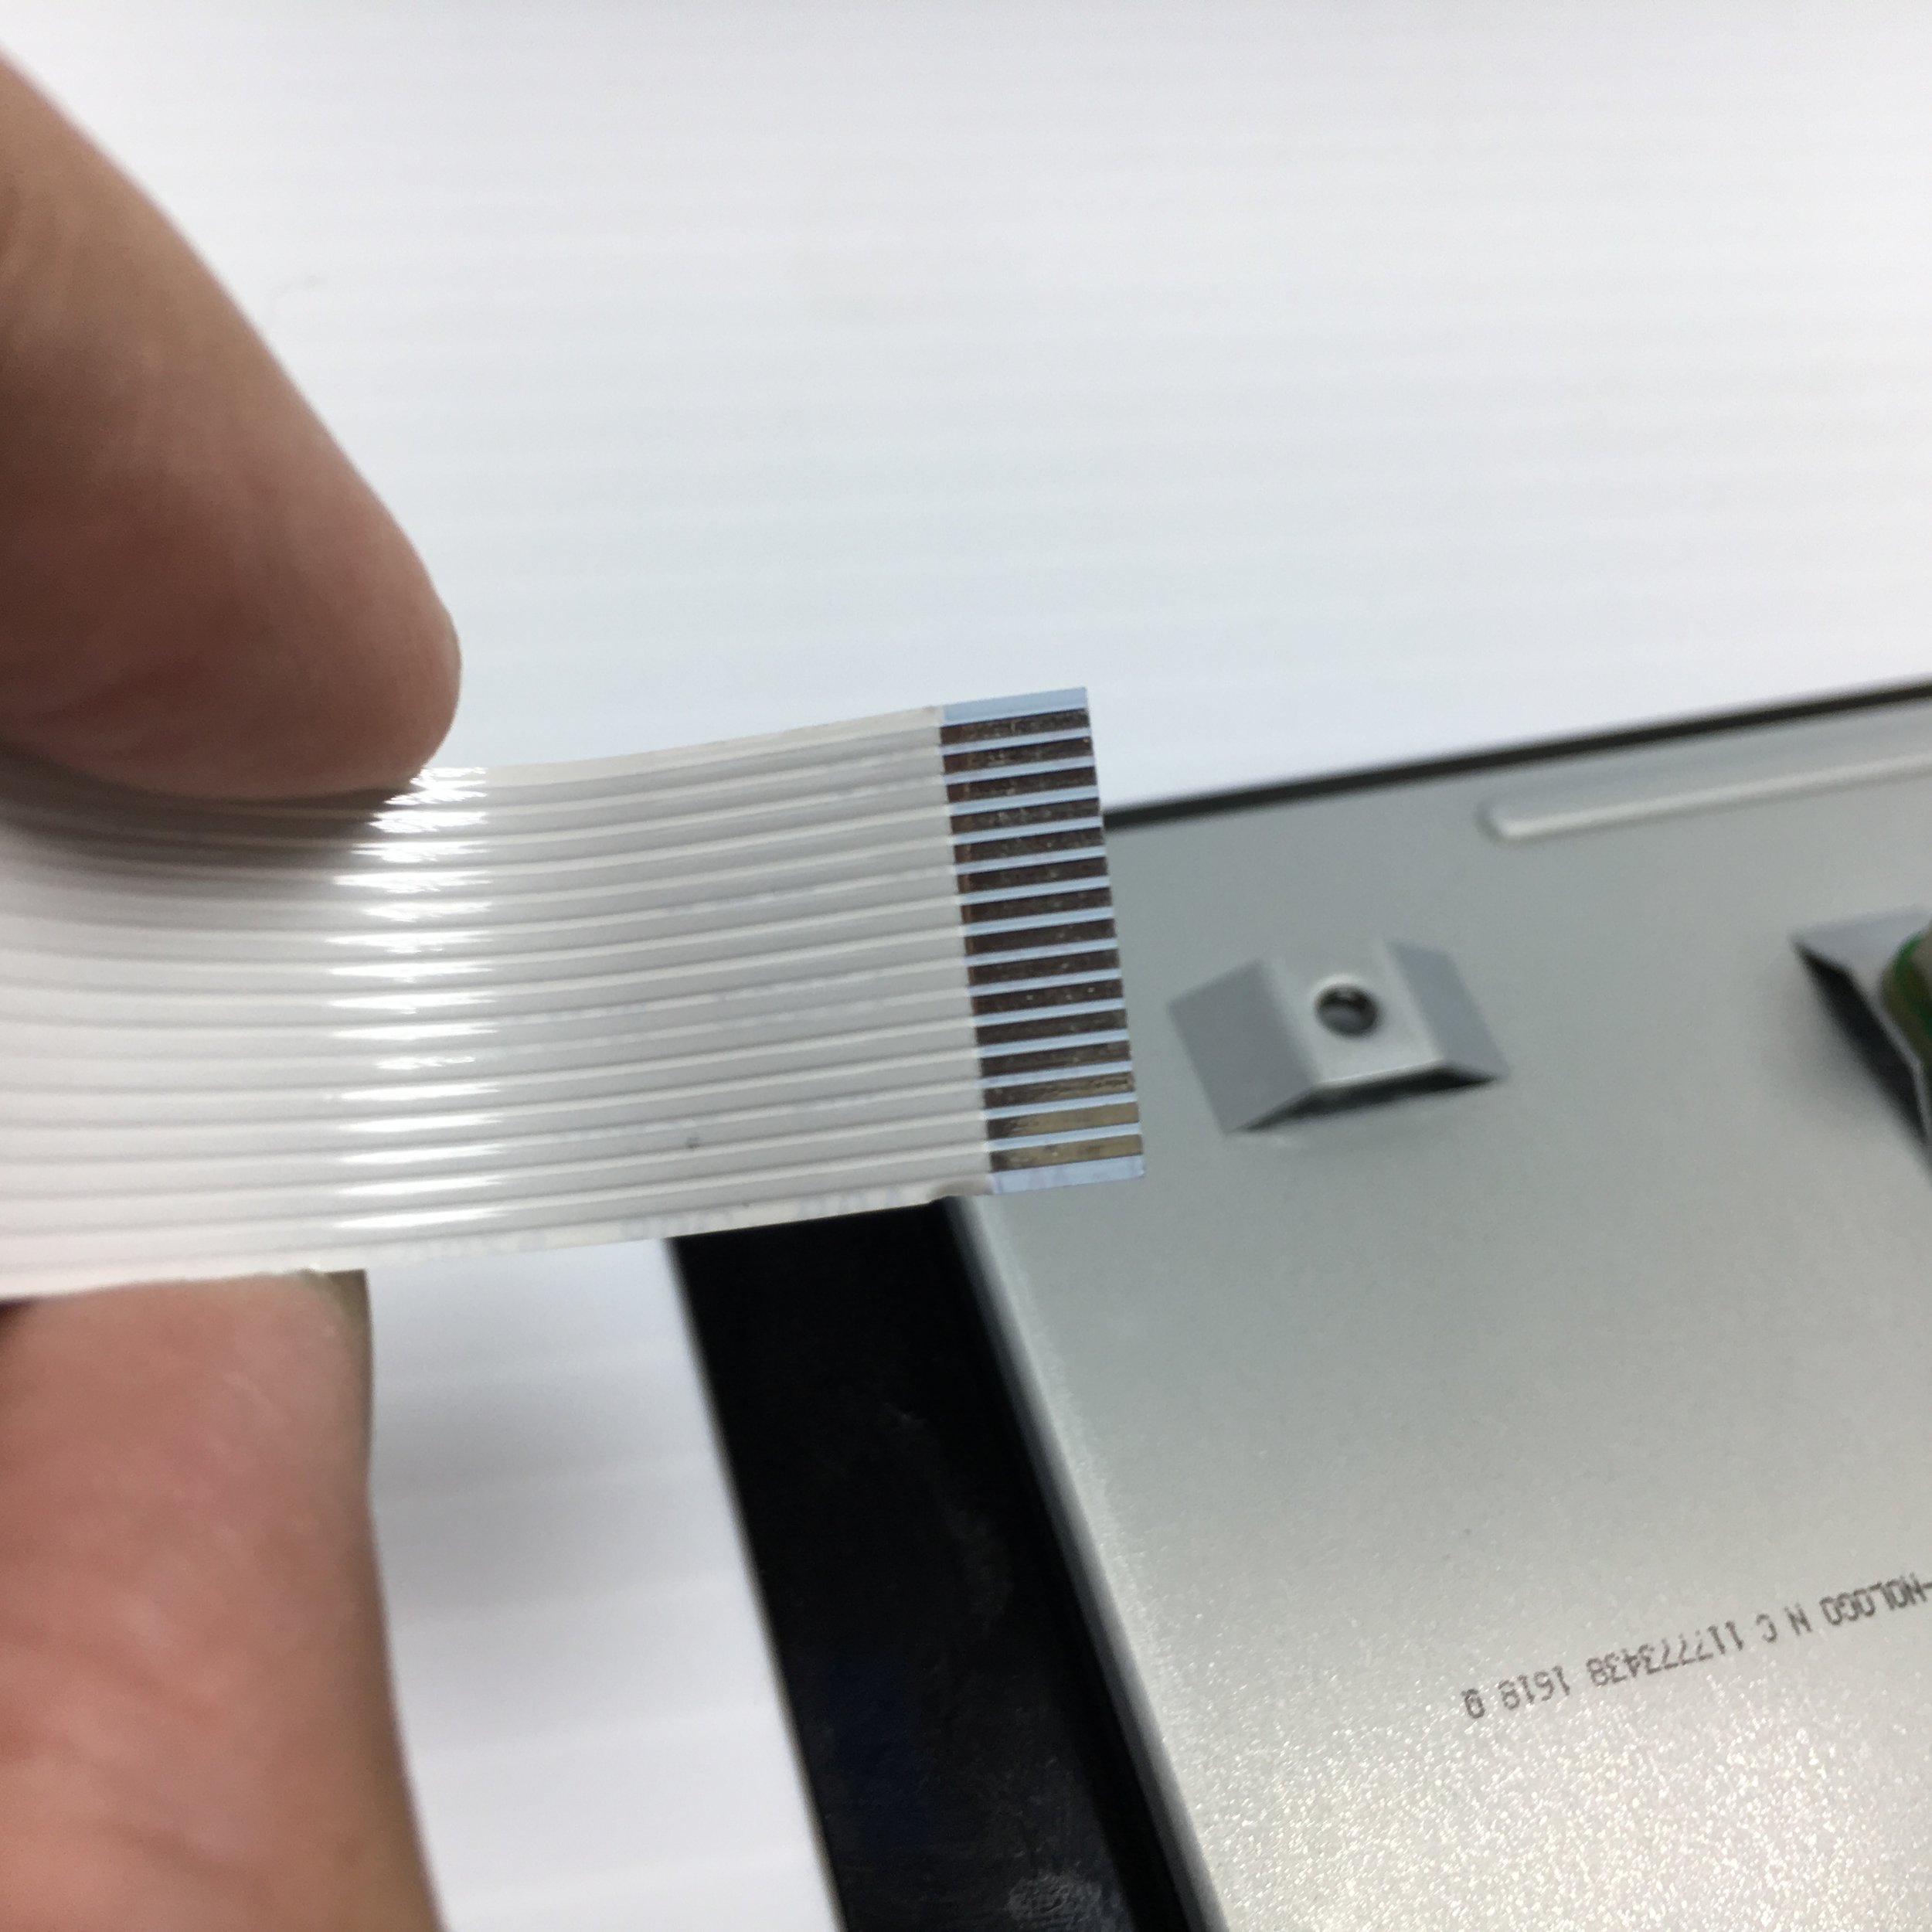
Note: The SmartPi Touch Case comes with its own ribbon cable. Use this cable instead of the cable that comes with the Raspberry Pi Display.
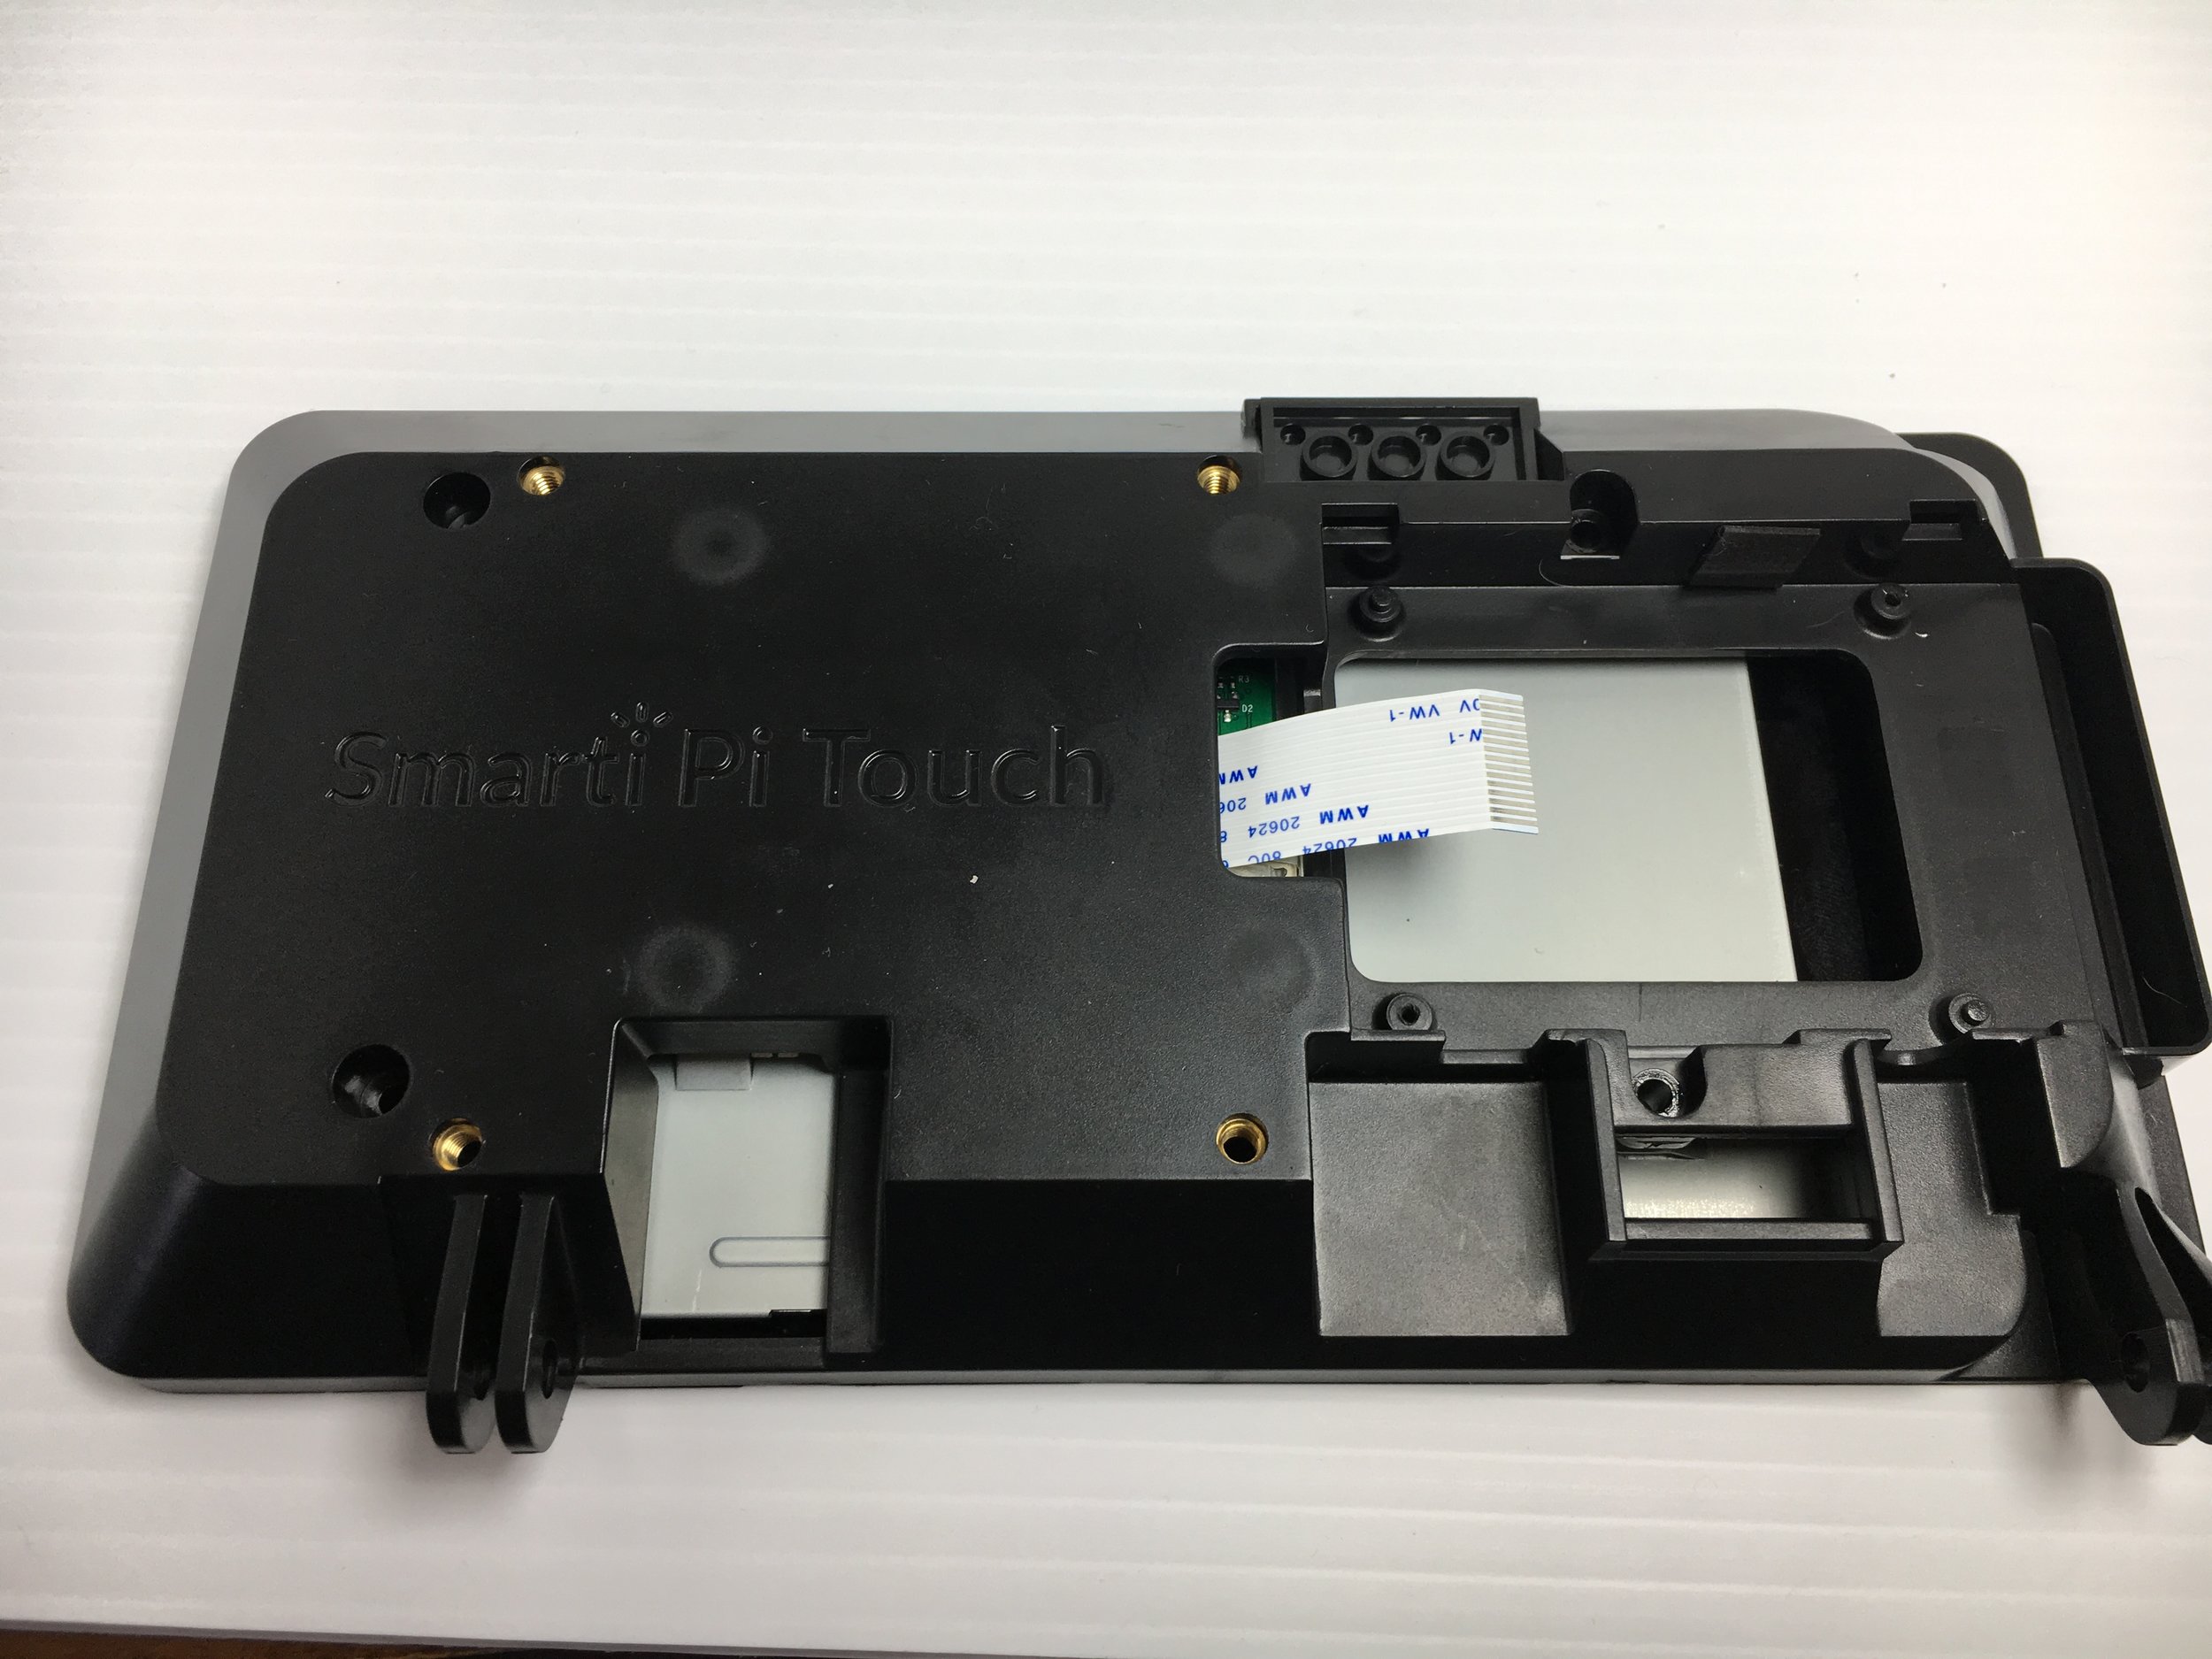
Make sure the side of the ribbon with the metal is facing up when inserting the ribbon cable into the display adapter board.
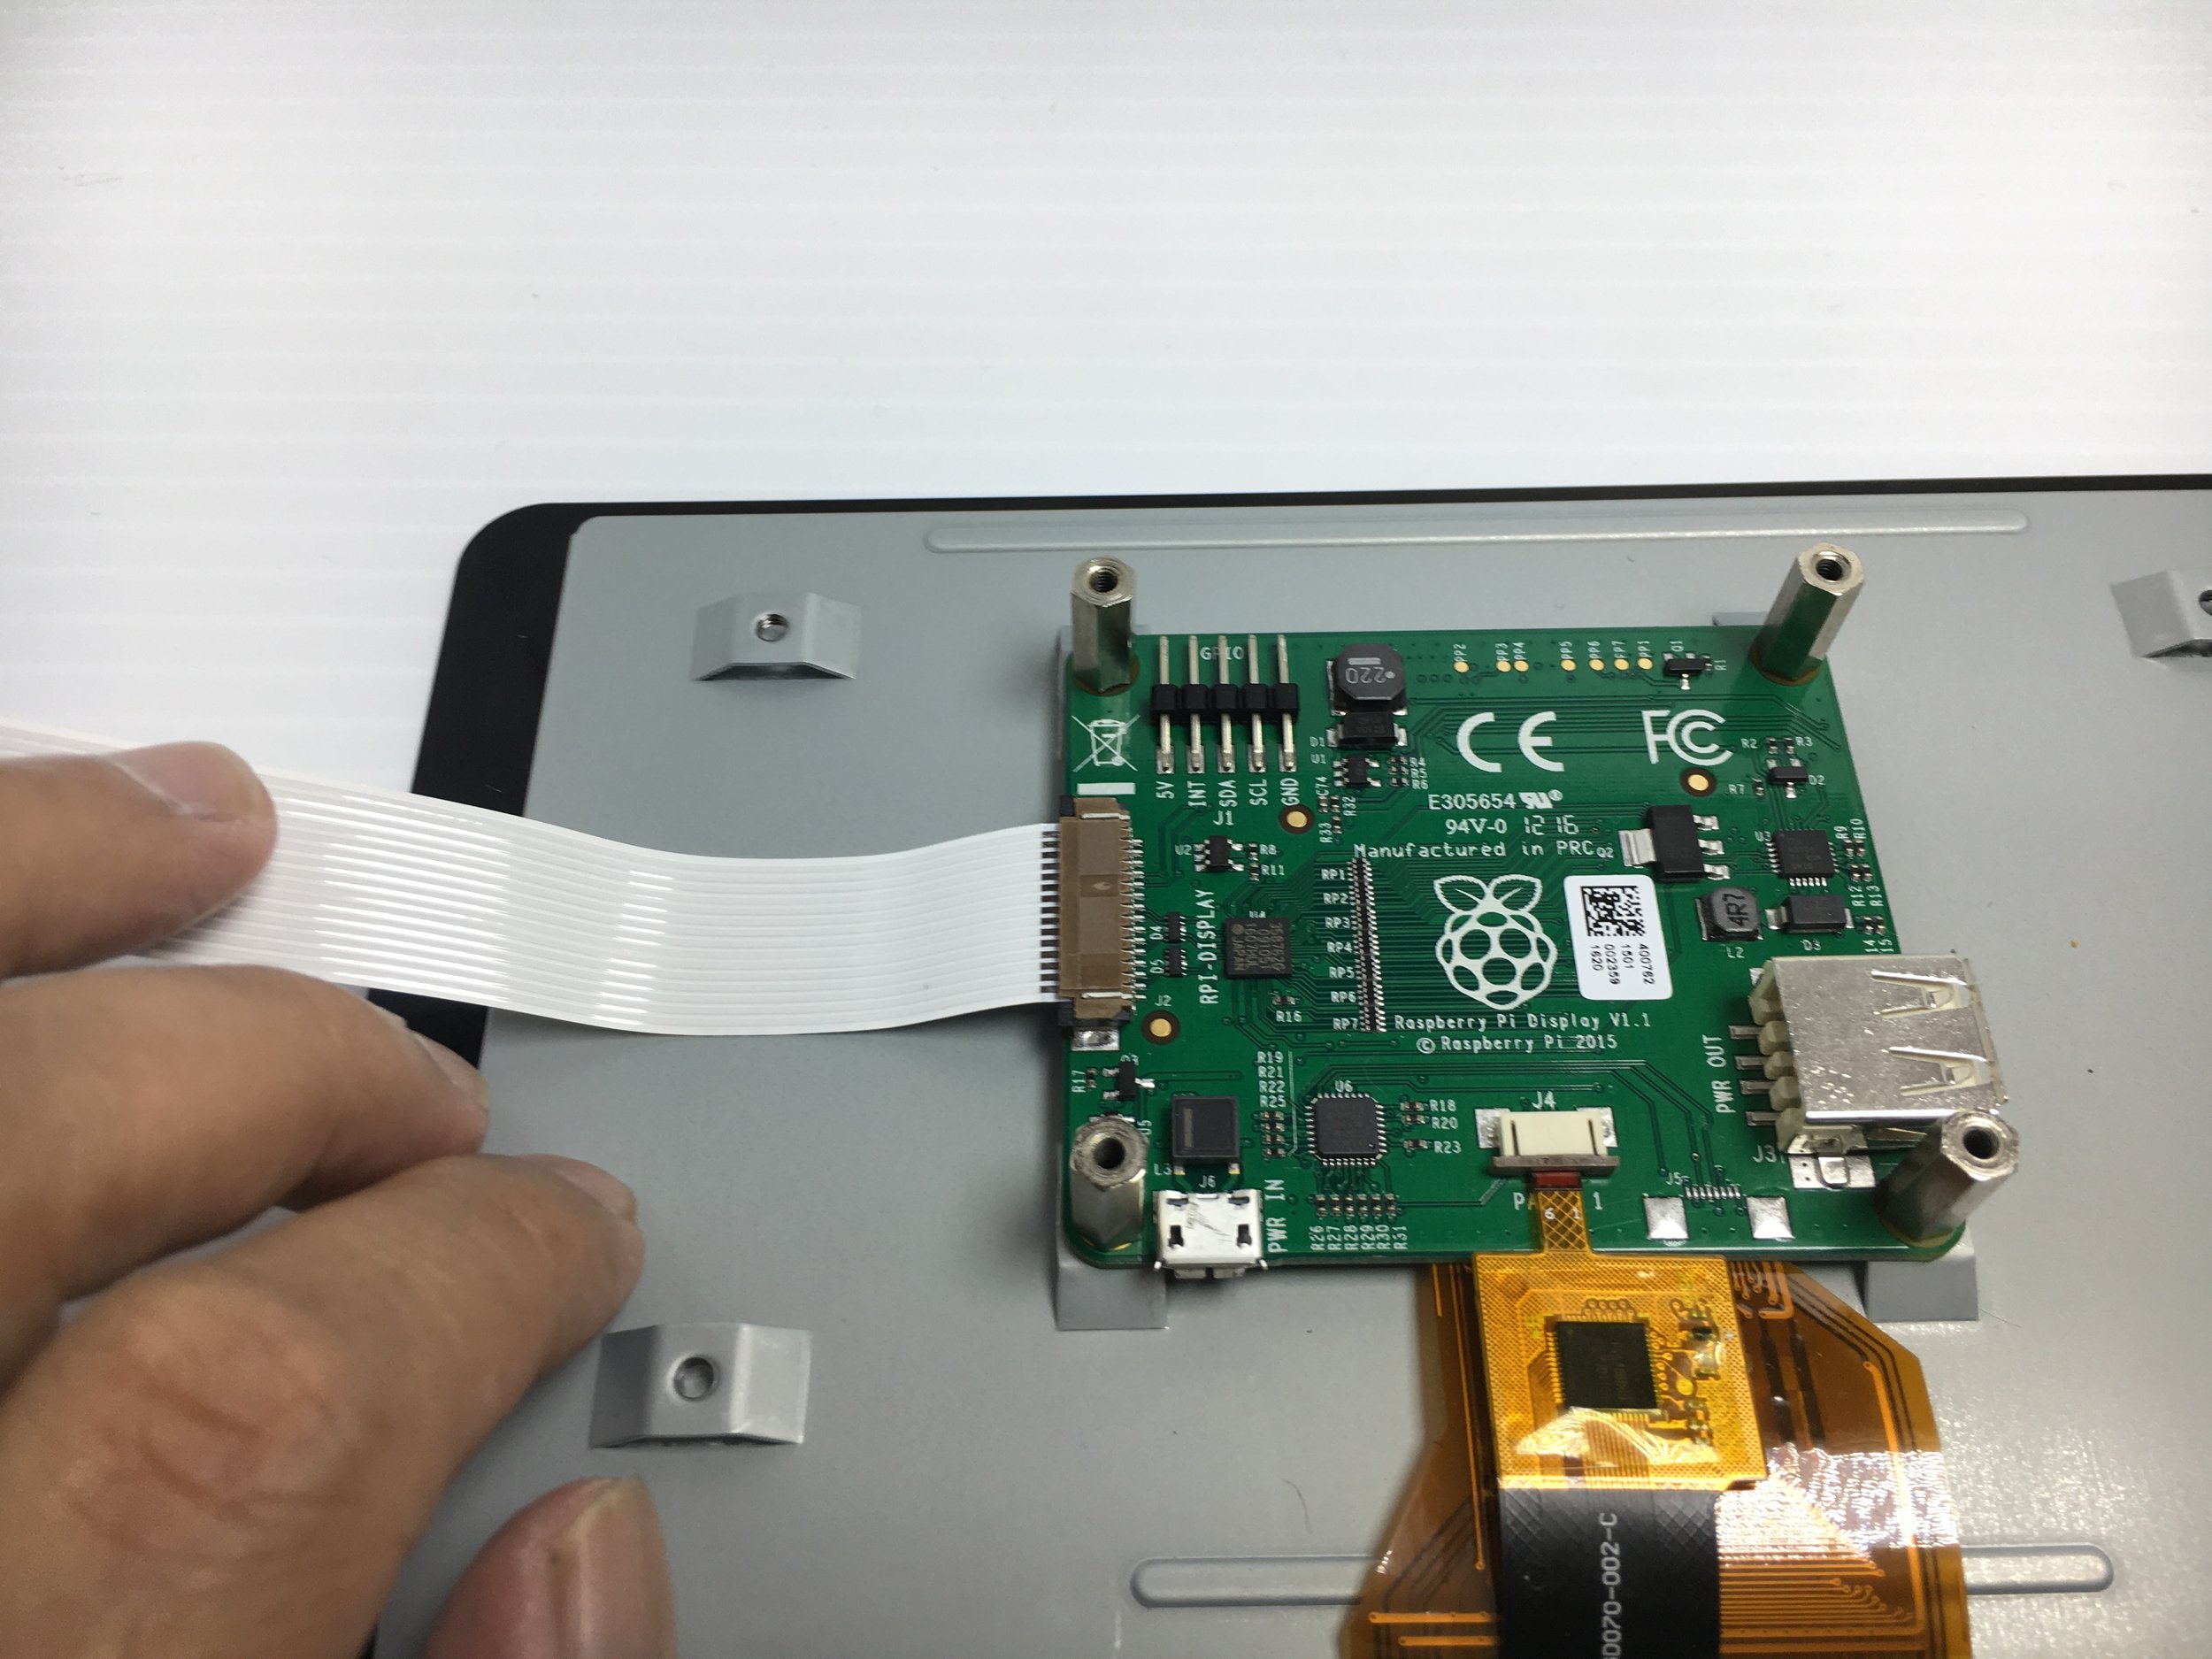
Route the ribbon cable through the hole to the bay for the Raspberry Pi when placing the SmartPi Touch cover on the back of the Display.
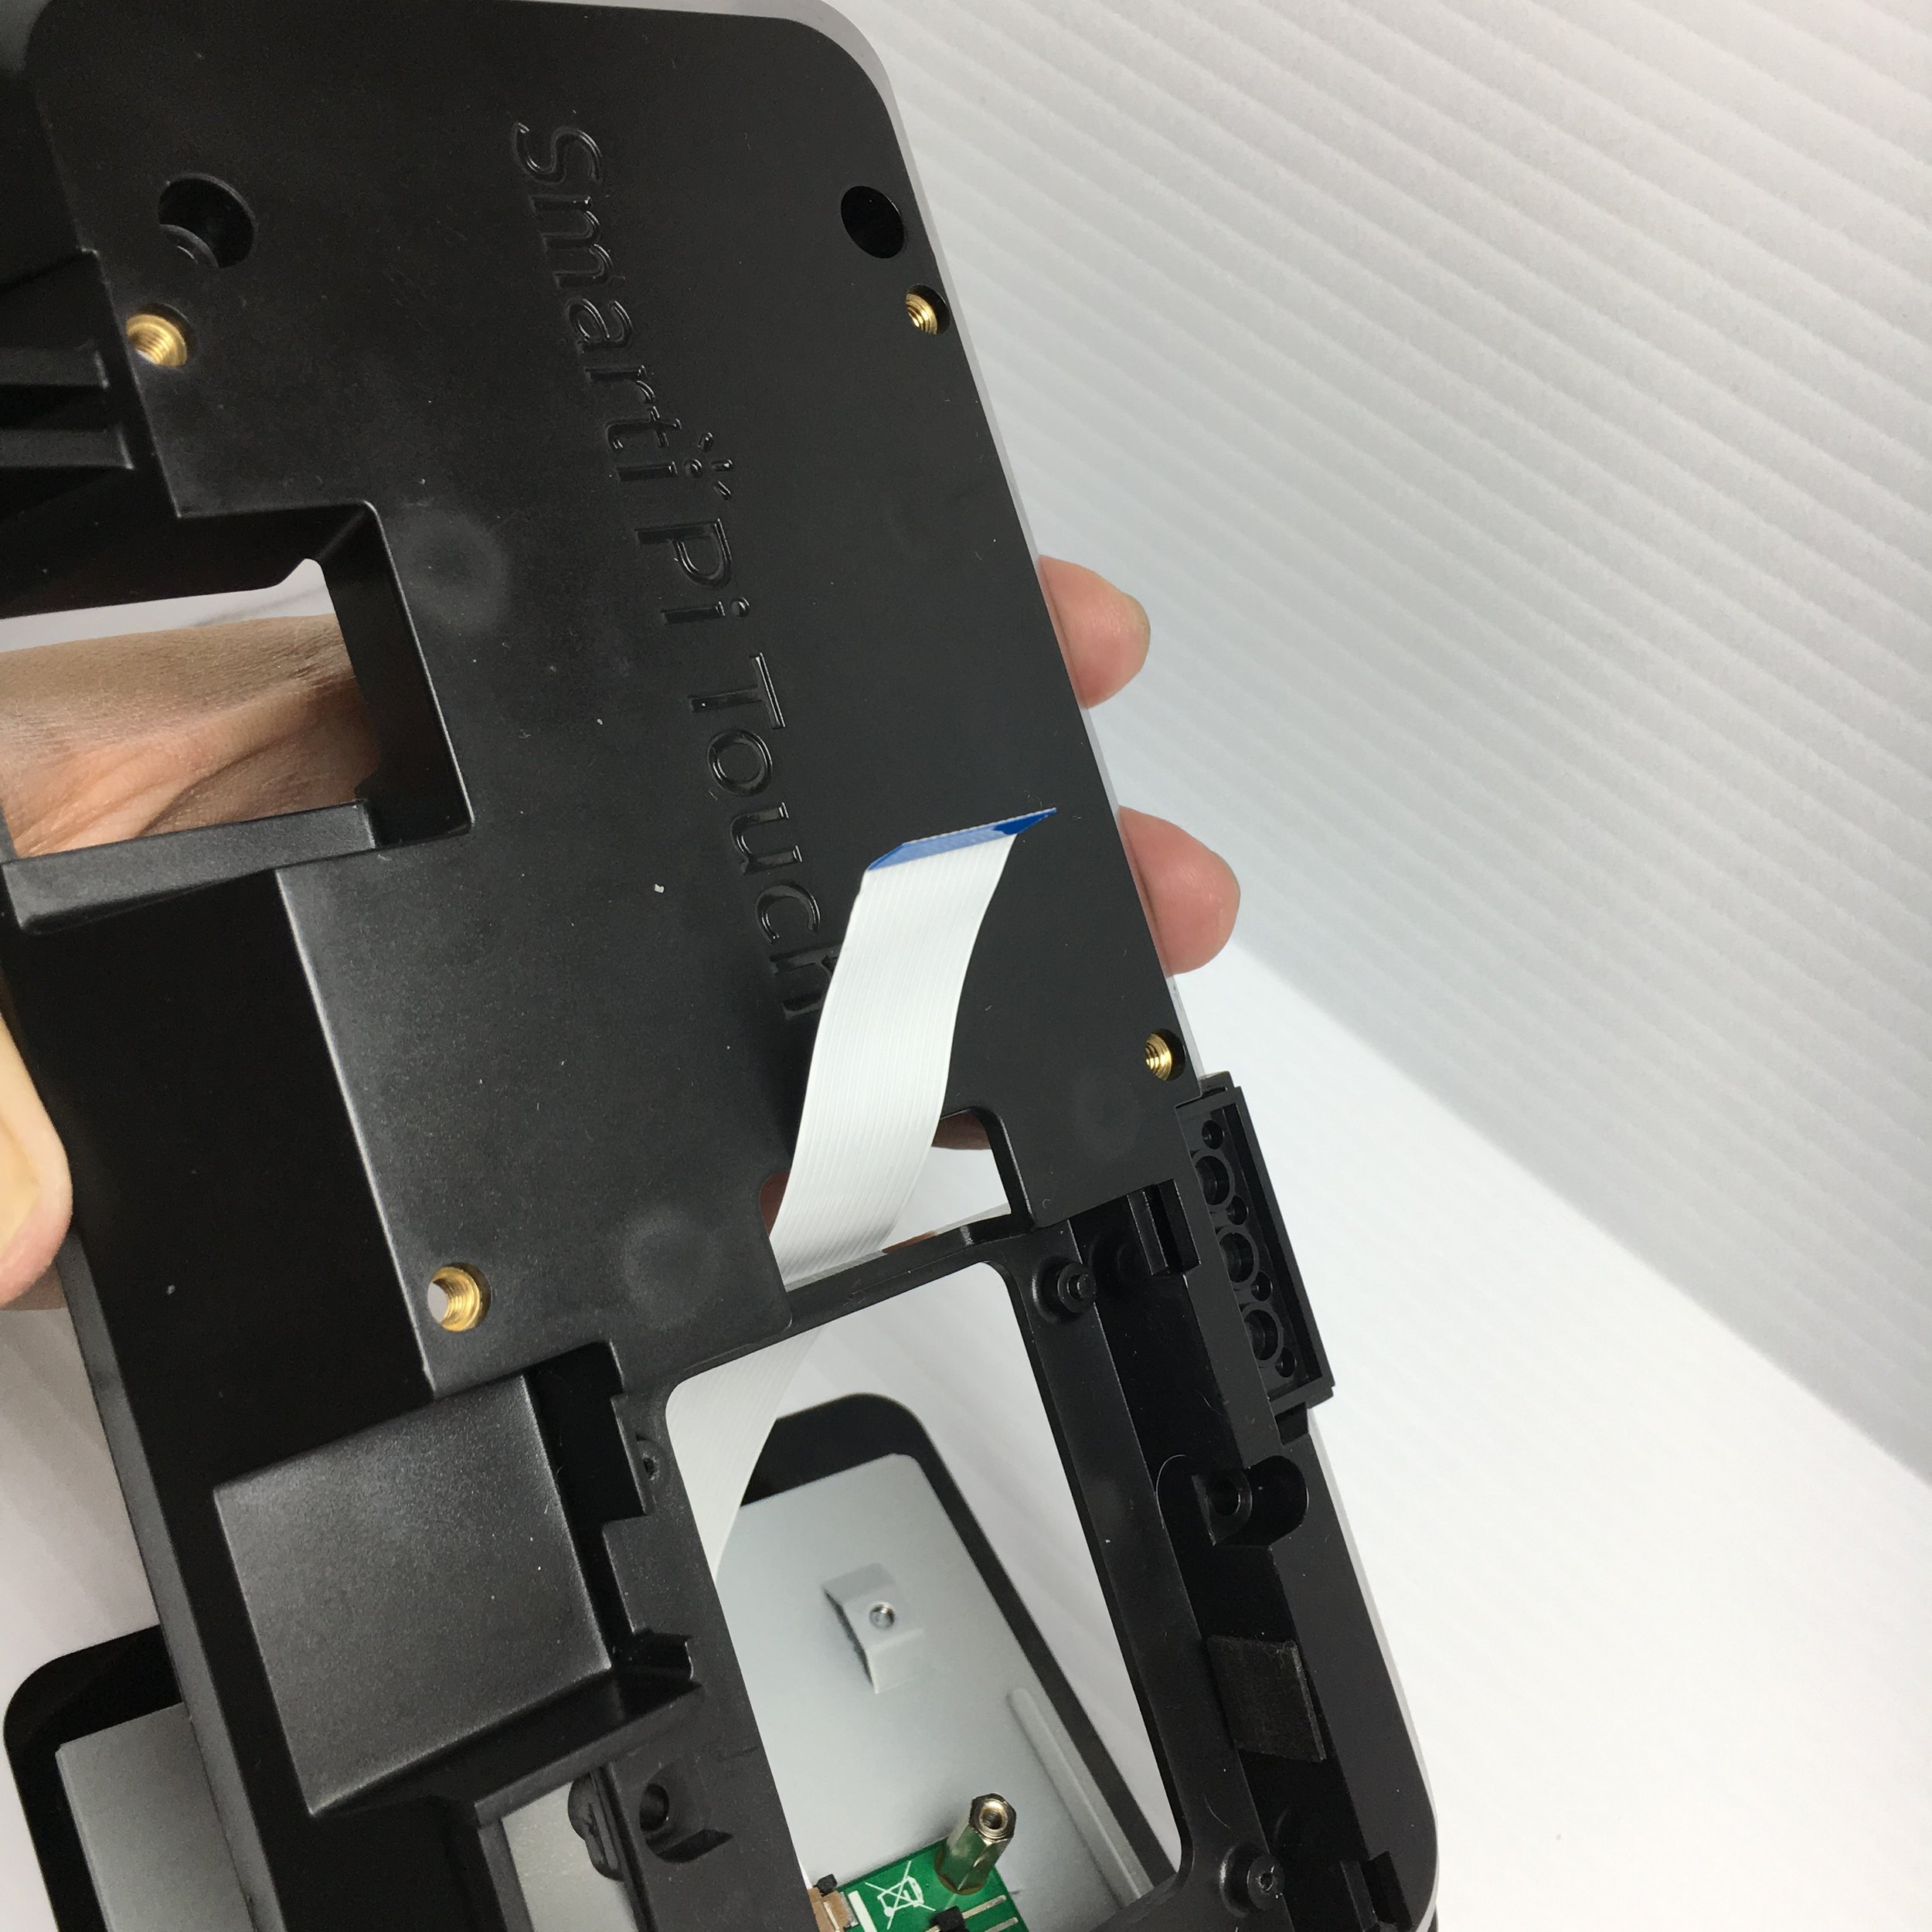
Place the Raspberry Pi in the case. Make sure the cable is above the Pi
Note: Make sure the metal side of the ribbon cable is facing up.
The cover for the Raspberry Pi just snaps in over the Raspberry Pi
The final step for the assembly is to attach the stand .
The SmartPi Touch comes with a micro USB splitter cable.
The micro USB splitter cable provides power for both the display's adapter board and the Raspberry Pi
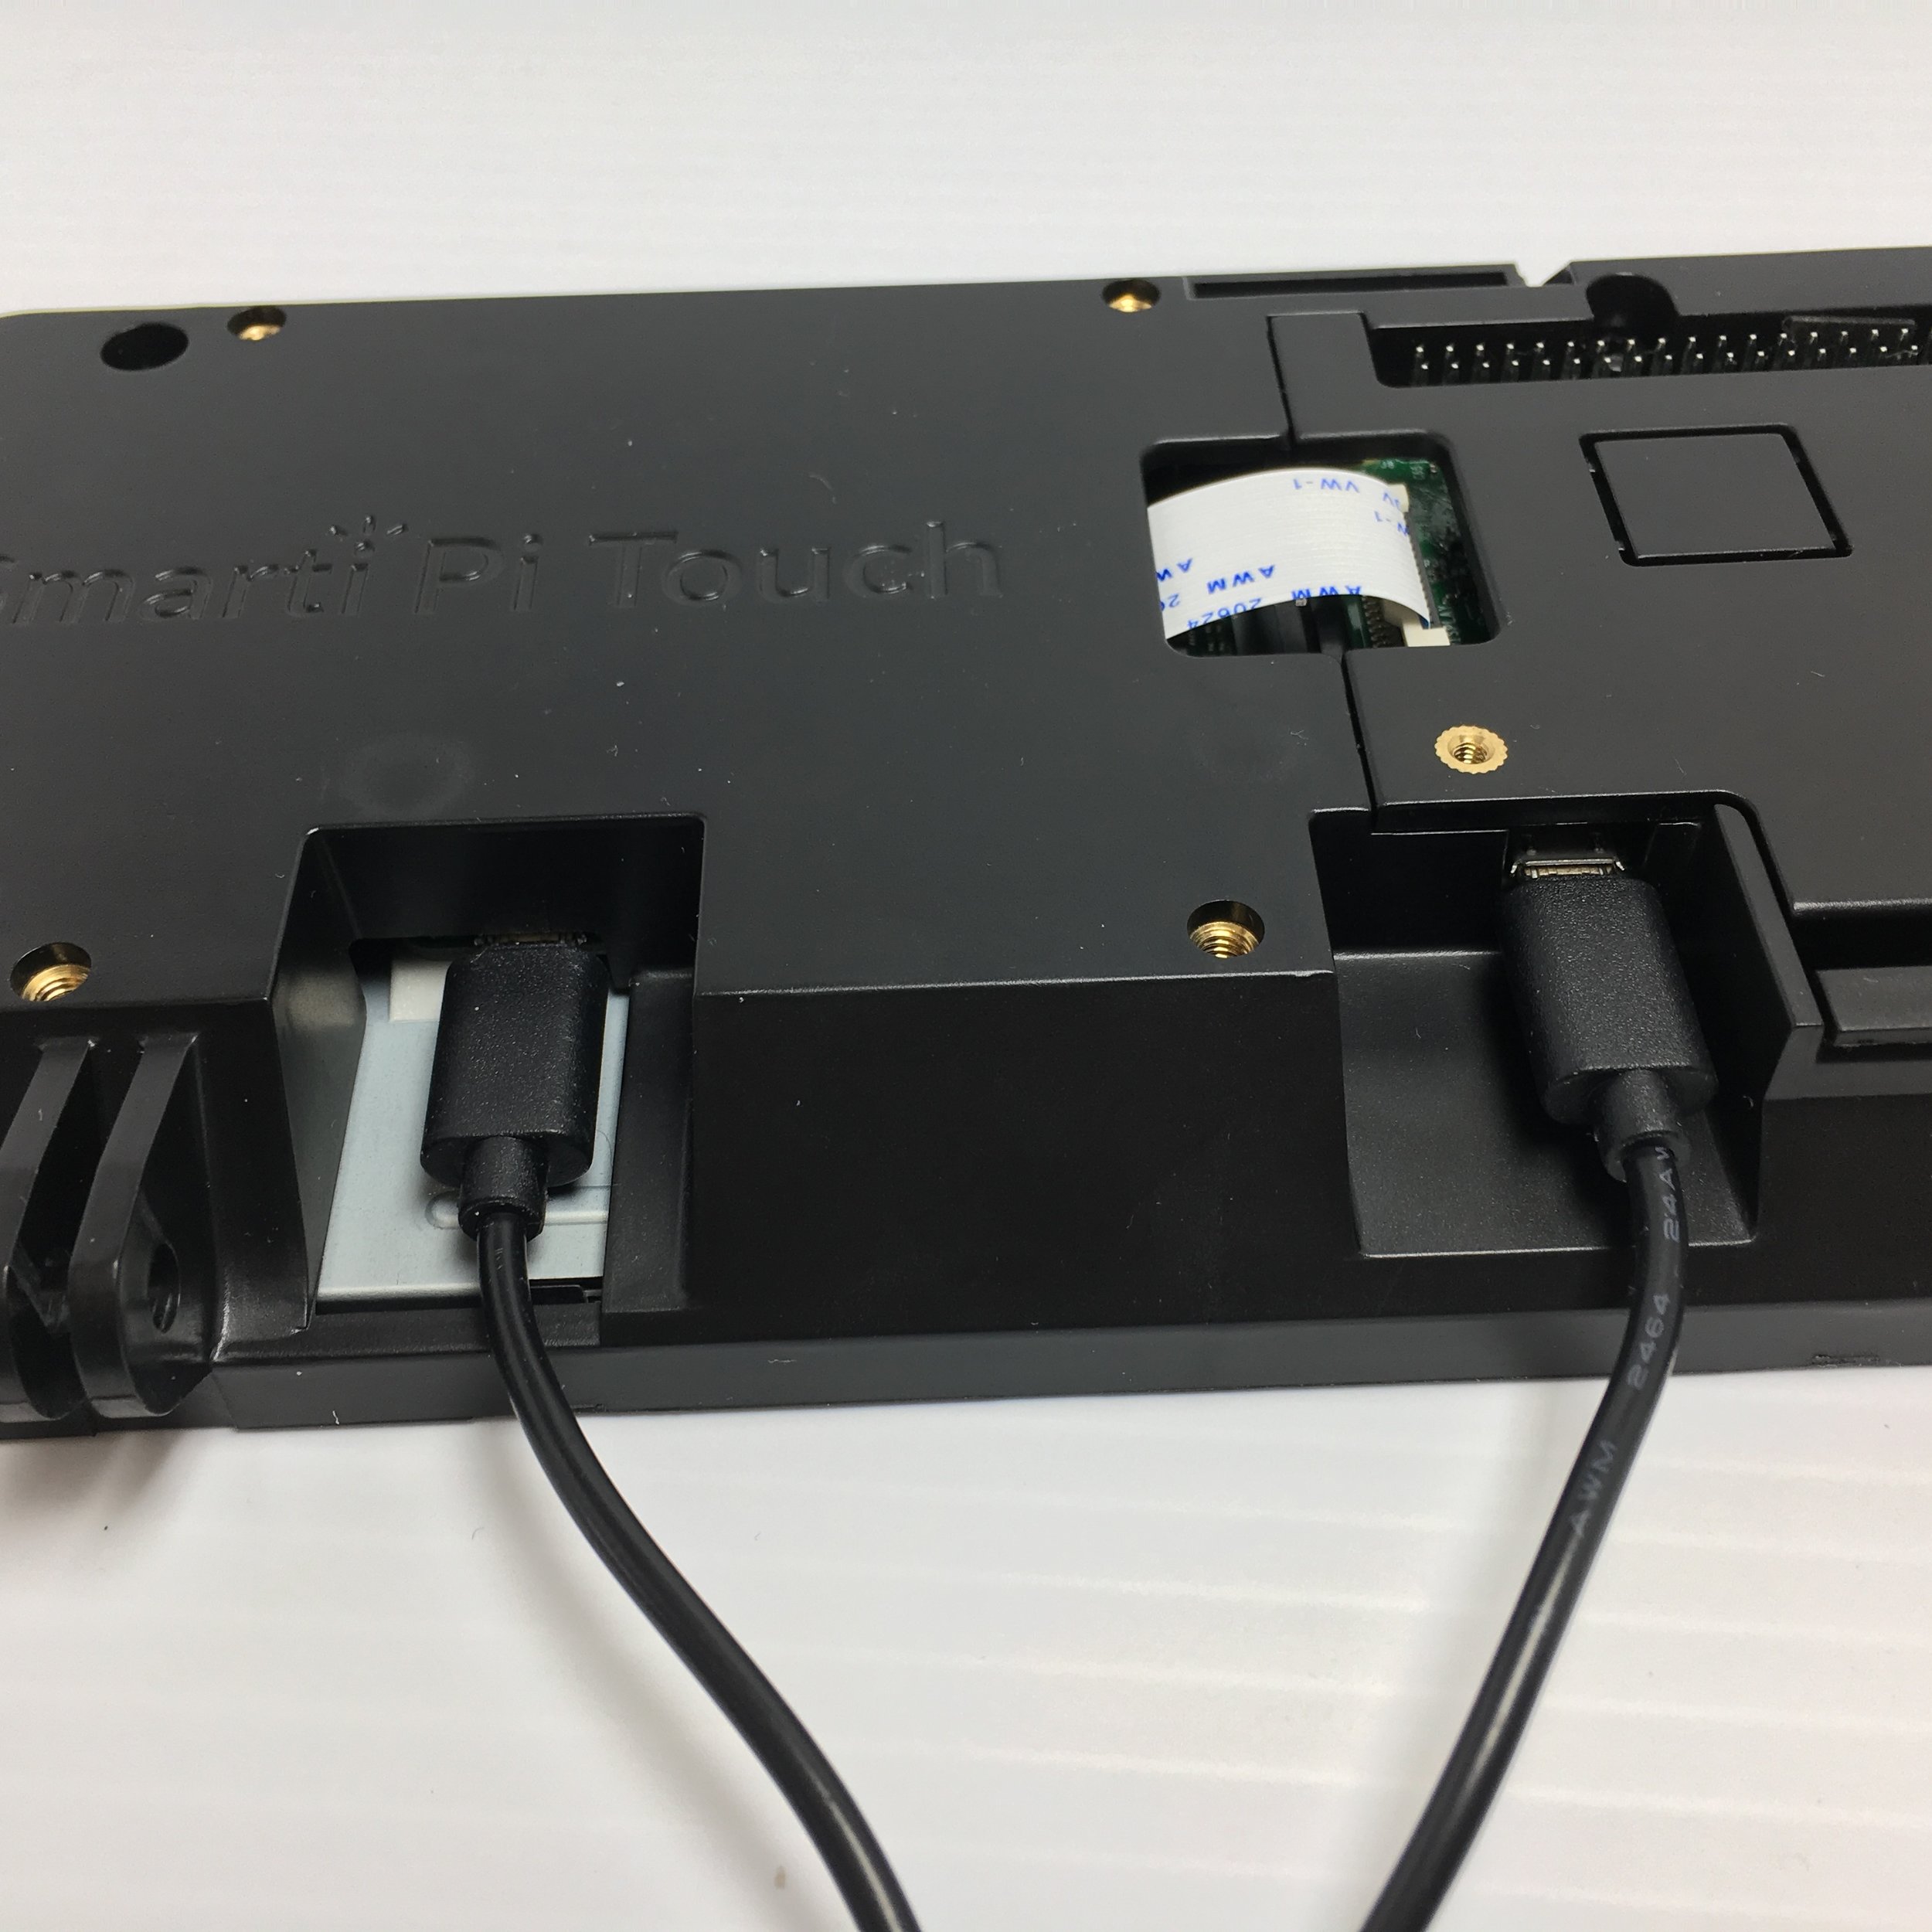
Connect the micro USB splitter cable to the display and the Raspberry Pi to power both components
Next, connect the splitter cable to a power source. If everything is connected correctly, the Pi and Display should just power up.
Find out more about the Raspberry Pi Display at https://www.raspberrypi.org
Details for the Smart Pi Case at http://smarticase.com/